Bash Basics, Part 1: Navigating the Filesystem and Reading Files

Congratulations! You have successfully installed your favorite distribution of Linux. Now what?
In my opinion, one of the best ways to get acquainted with Linux is to dive head-first into the command line. That's right, pin that terminal emulator to your taskbar, because ideally, you will be using it a lot.
The command line is the most powerful way to interact with your computer. A shell is a software that opens up the operating system's services to the user. The Bourne-Again Shell, or bash, is the default shell in most Linux distributions.
This lesson will show you the top commands I use to navigate the Linux filesystem.
The bash prompt
In most Debian-based distributions of Linux, the default bash prompt comprises four elements: the username, the hostname, the working directory, and the prompt sign. It kind of looks like a funny email address.

jacob: This is the username of the currently logged-in user.starbook: The hostname of the device you are working on.~: This is the current working directory. More on this later.$: This is my prompt sign. A dollar symbol$means the prompt is for a regular user, and a hash symbol#means the prompt is for a privileged user, most often the superuser, A.K.A. "root".- The cursor at the end is where you write your commands.
Navigating the filesystem
pwd
pwd is an acronym for "print working directory". When you run this command, the shell will tell you what directory (A.K.A file folder) you are currently working in. Neat!

ls
ls is used to list files. Let's run it without any syntax.

We can now see a list of directories in the home folder of the user jacob. Let's try to list the files in the Tutorials folder by adding "Tutorials" to the end of ls. By the way, it's important to know that everything in Linux is case-sensitive!

We can now see two files and one directory inside the "Tutorials" folder. Directories are shown in blue.
Tip: You can add arguments tolsto change how it works. For example,ls -lwill list files one per line. Try it!
cd
cd is an acronym for "change directory" (most of these commands are self-explanatory once you learn what they're short for.) Use cd plus the name of the folder you want to change to. Let's change to the folder Tutorials.

As a prerequisite for what's about to happen next, the Linux filesystem needs some explanation for a better learning experience. In *nix filesystems, a tilde ~ is an alias for the user's home directory. One dot . aliases the current directory, and two dots .. alias the parent directory.
So, now that we have changed to the "Tutorials" directory, how do we go back? How do we move up the file tree? Well, using what we just learned, if we run cd .., we will move into the parent directory, which is /home/jacob, or ~.

You can also run something like cd ../.. to move up two directories, where you would find yourself at the root of the filesystem, resembled as /.

cd /.If you ever get too lost, use cd ~ to get right back to your home folder, or cd - to get back to your previous folder.
Tip: You can use the TAB key to autocomplete commands, filenames, and pathnames in bash.tree
One more nice command to add to your toolbelt is tree. This will print all the files, directories, and subdirectories like branches on a tree. A handy option for those who are visual learners.

Reading and viewing files
file
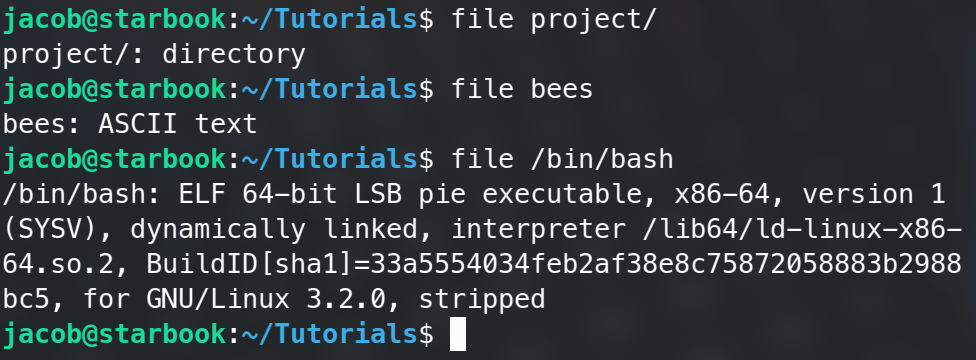
This one is pretty easy. file will determine the file type for a given file.
cat

Unfortunately, this has nothing to do with the furry four-legged overlords of the internet. cat is used to "concatenate files and print on the standard output". In layman's terms, it will print whatever contents are inside a file. I'll cat the contents of the file ~/Tutorials/hello.

less
Sometimes, you will come across a file that is hundreds, thousands, or many more lines long. If you tried using cat on a file like that, it would just vomit the entire file, line by line, to your terminal. That's not very helpful. Here is where less is more.
less will open a file in a nice interactive interface that supports scrolling and searching. I'm going to run less bees to read the file "bees".
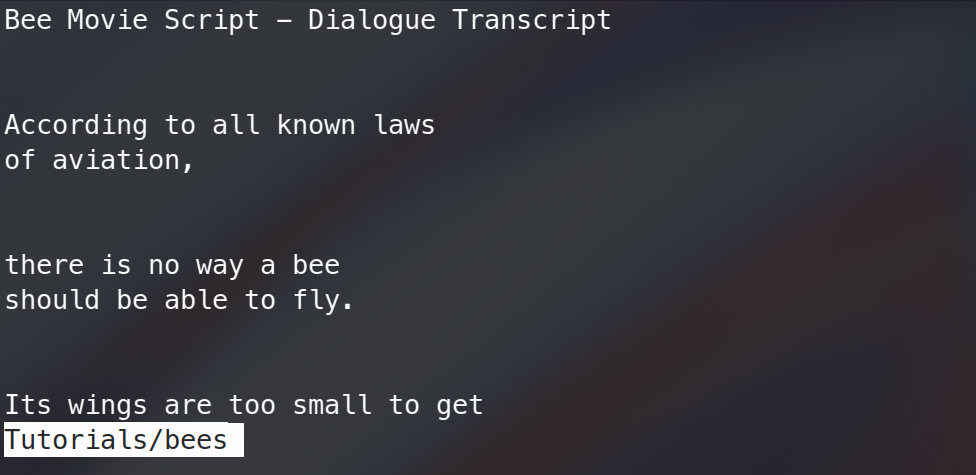
You can use the arrow keys or scroll wheel/touchpad to scroll through the document. You can also use the HOME, PGUP, PGDN, and END keys to navigate.
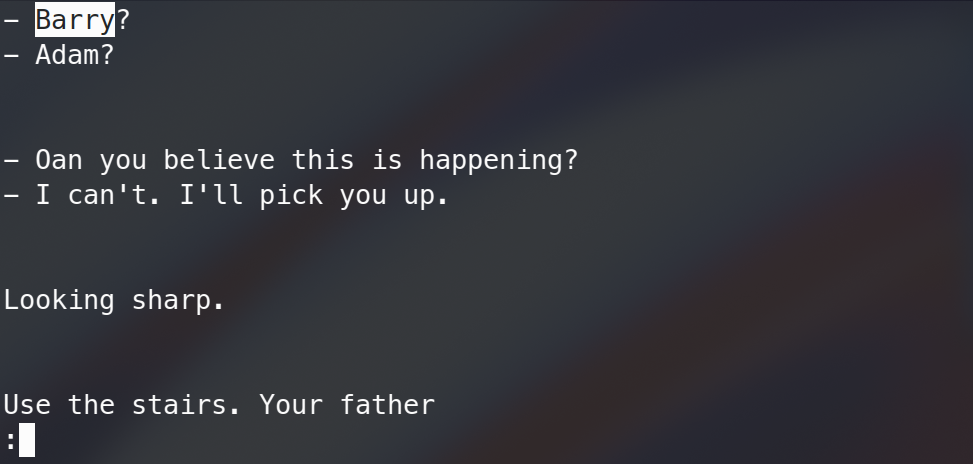
less also has a search function. With the text file open, type forward slash / then the string of text you want to search for. I'm going to type /Barry.
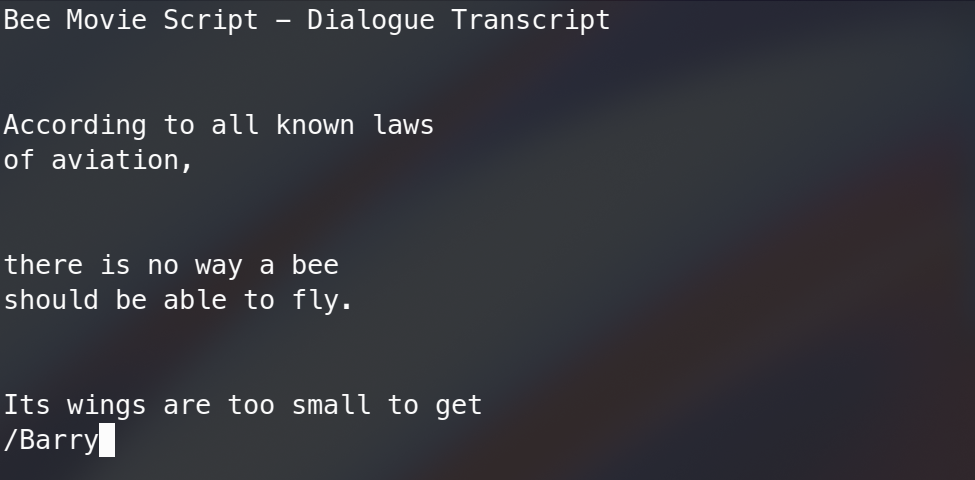
Press ENTER after typing the string that you want to search.
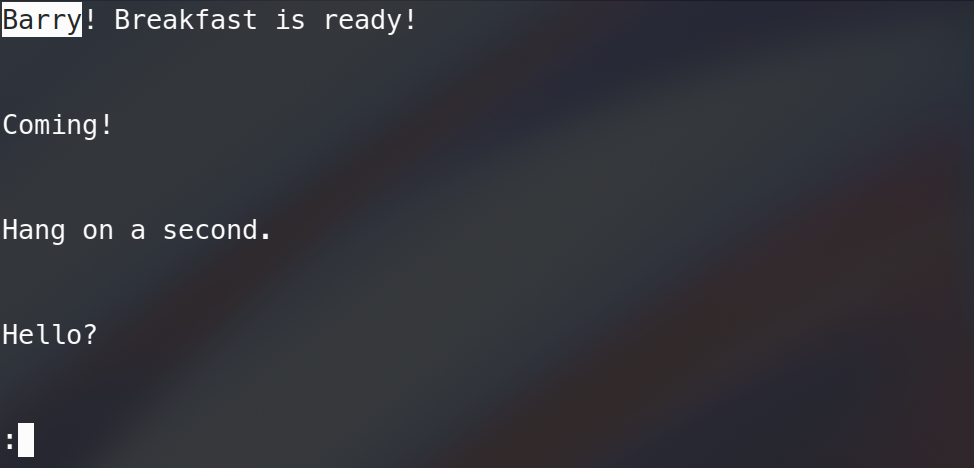
Use n and N to jump back and forth between your search string's next and previous instance ("Barry").
You can exit less by typing q.
head and tail
And shoulders, knees, and toes! Just kidding. head and tail will output the first or the last part of a file.
By default, these commands will output the first or the last 10 lines of the document; we can also define how many lines to output with the argument --lines. Let's try it on the file bees.


head and tail also have another argument --bytes that will let you specify exactly how many bytes will be printed. I think you might be getting the hang of how this works now. ;)
grep
grep is probably one of the more advanced commands out of the group, but surely one of the most useful and beneficial to learn early on. It's fantastic when piped with another command that prints many lines.
grep by definition prints lines that match patterns. In other words, it filters out lines of text that don't match your "search pattern". Let's use grep to find the word "bee" in my text file "bees". Don't forget that everything is case-sensitive.
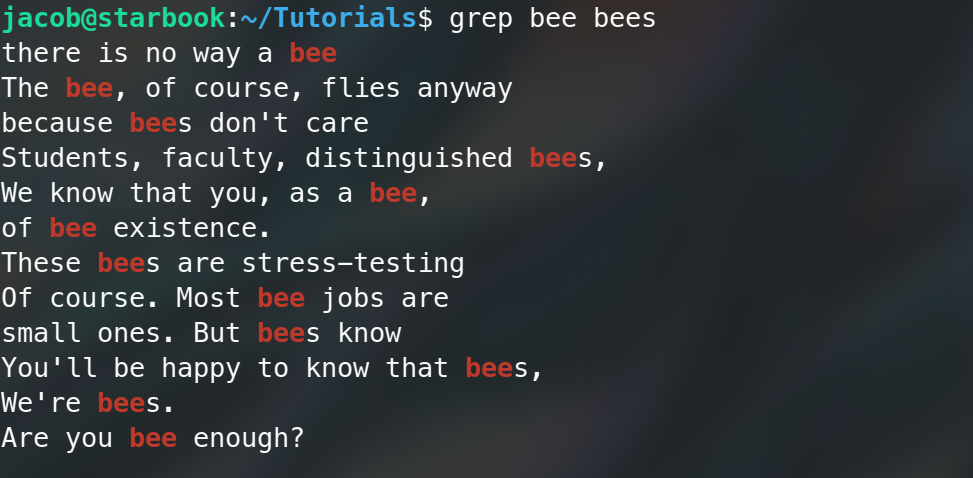
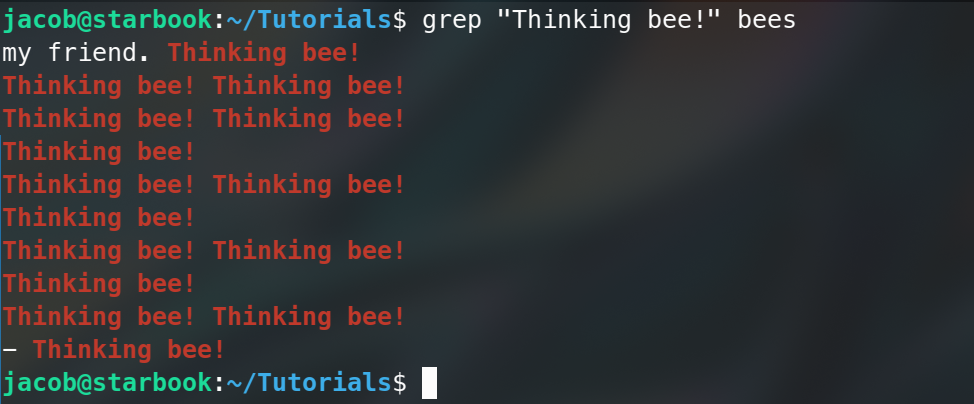
grep prints every line that contains the word "bee".You can also wrap the search pattern in quotation marks "" or '' if it's more than one word.
Previously, I said that another command could be "piped" into grep. What does a pipe | exactly do? It takes the output text that would otherwise be printed to your terminal, and instead "pipes" it into another command to use as input. To demonstrate, I'll execute cat ~/Tutorials/bees | grep bee.
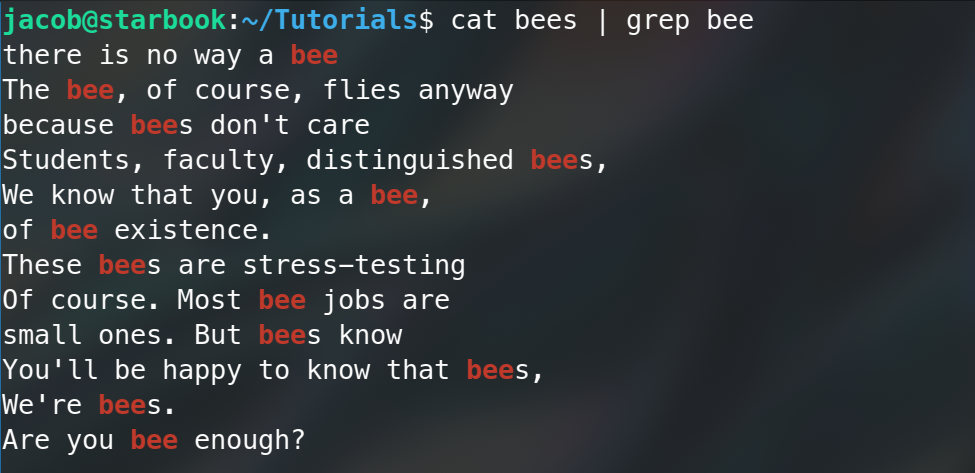
The output of cat bees is fed into the input of grep bee. Let's try another example. There is a file in the Linux filesystem called /proc/cpuinfo. Let's search that file for the pattern "MHz" to print to the terminal how fast the CPU is clocked at any given moment. I'll run cat /proc/cpuinfo | grep MHz.
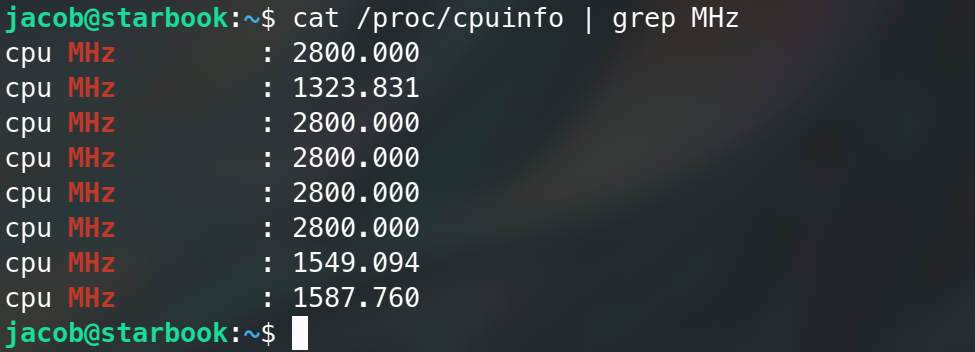
Hopefully, you're now seeing the usefulness of this command. Let's try another. We will use dmesg, a command that prints the kernel message buffer, a sort of system log. I'm going to run dmesg | grep nvme to print every kernel message with the pattern "nvme".
WARNING: dmesg must be run as root for this to work!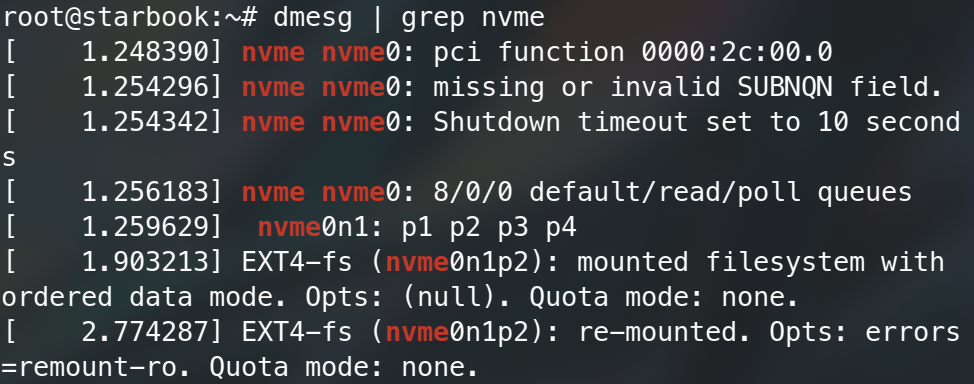
You can also do tricks like piping cat into grep into less if you really wanted. You can mix and match different commands to get sophisticated results. The shell is your... oyster!
Consider this just a brief overview. All these commands have many different arguments that change their behavior, but you will learn them all in time with practice. Hopefully, you have been properly showcased the power of using bash in the GNU/Linux command line.
COMING SOON: Bash Basics, Part 2: Manipulating the Filesystem
